
Opal’s Mac app allows you to block and limit websites and apps you find distracting on your Apple computer (with MacOS 13 or higher). Everyone who uses Opal can set up one scheduled Session up to 24 hours in advance; you may alternatively set up one Open Limit or Time Limit on any difficulty level. Meanwhile, Gems who’ve upgraded to Opal Pro can set up unlimited Sessions, Open Limits, and Time Limits on the Mac app on any difficulty level. For more information about the features of our Mac app and how to troubleshoot any issues, continue reading.
To download and set up Opal’s Mac app, follow these steps:
Once you’ve completed those steps, you will have access to our Mac app on your Mac computer.
Please note that your Sessions will not sync or transfer between your devices regardless of you being logged into your account, as all Opal data remains on your individual device for privacy reasons. Similarly, screen time will not be synced across your devices and is instead device specific.
After you download and set up the Mac app, your daily screen time will be displayed in the top left corner of the app. Please note that our Mac app is not yet as robust as our iPhone app, and the Mac App must be open to track your screen time. Additionally, the Mac app will only depict your daily Screen Time and does not yet retain or display any data about your Screen Time on previous days. Finally, we'll remind you that Screen Time is not synced between your devices. Each device will independently report your Screen Time, regardless of if you're signed into the same Opal account on multiple devices.
To add a Session on the Mac app, click on the "Block Now" or “Create Schedule” button. Once you’ve selected your Session type, you will have three protection level options available, including:
Once you’ve selected your Difficulty, you can edit the following information about your Session by clicking on the editing icons:
To add an Open Limit, click on the "Set Open Limit" button on the "Blocks" tab. Once you've selected it, you will have two protection levels available, including:
You can also edit the following information about your "Open Limit" by clicking on the editing icons:
To add a Time Limit, click on the "Time Limit" button on the "Blocks" tab. Once you've selected it, you will have three protection levels available, including:
You can also edit the following information about your "Time Limit" by clicking on the editing icons:
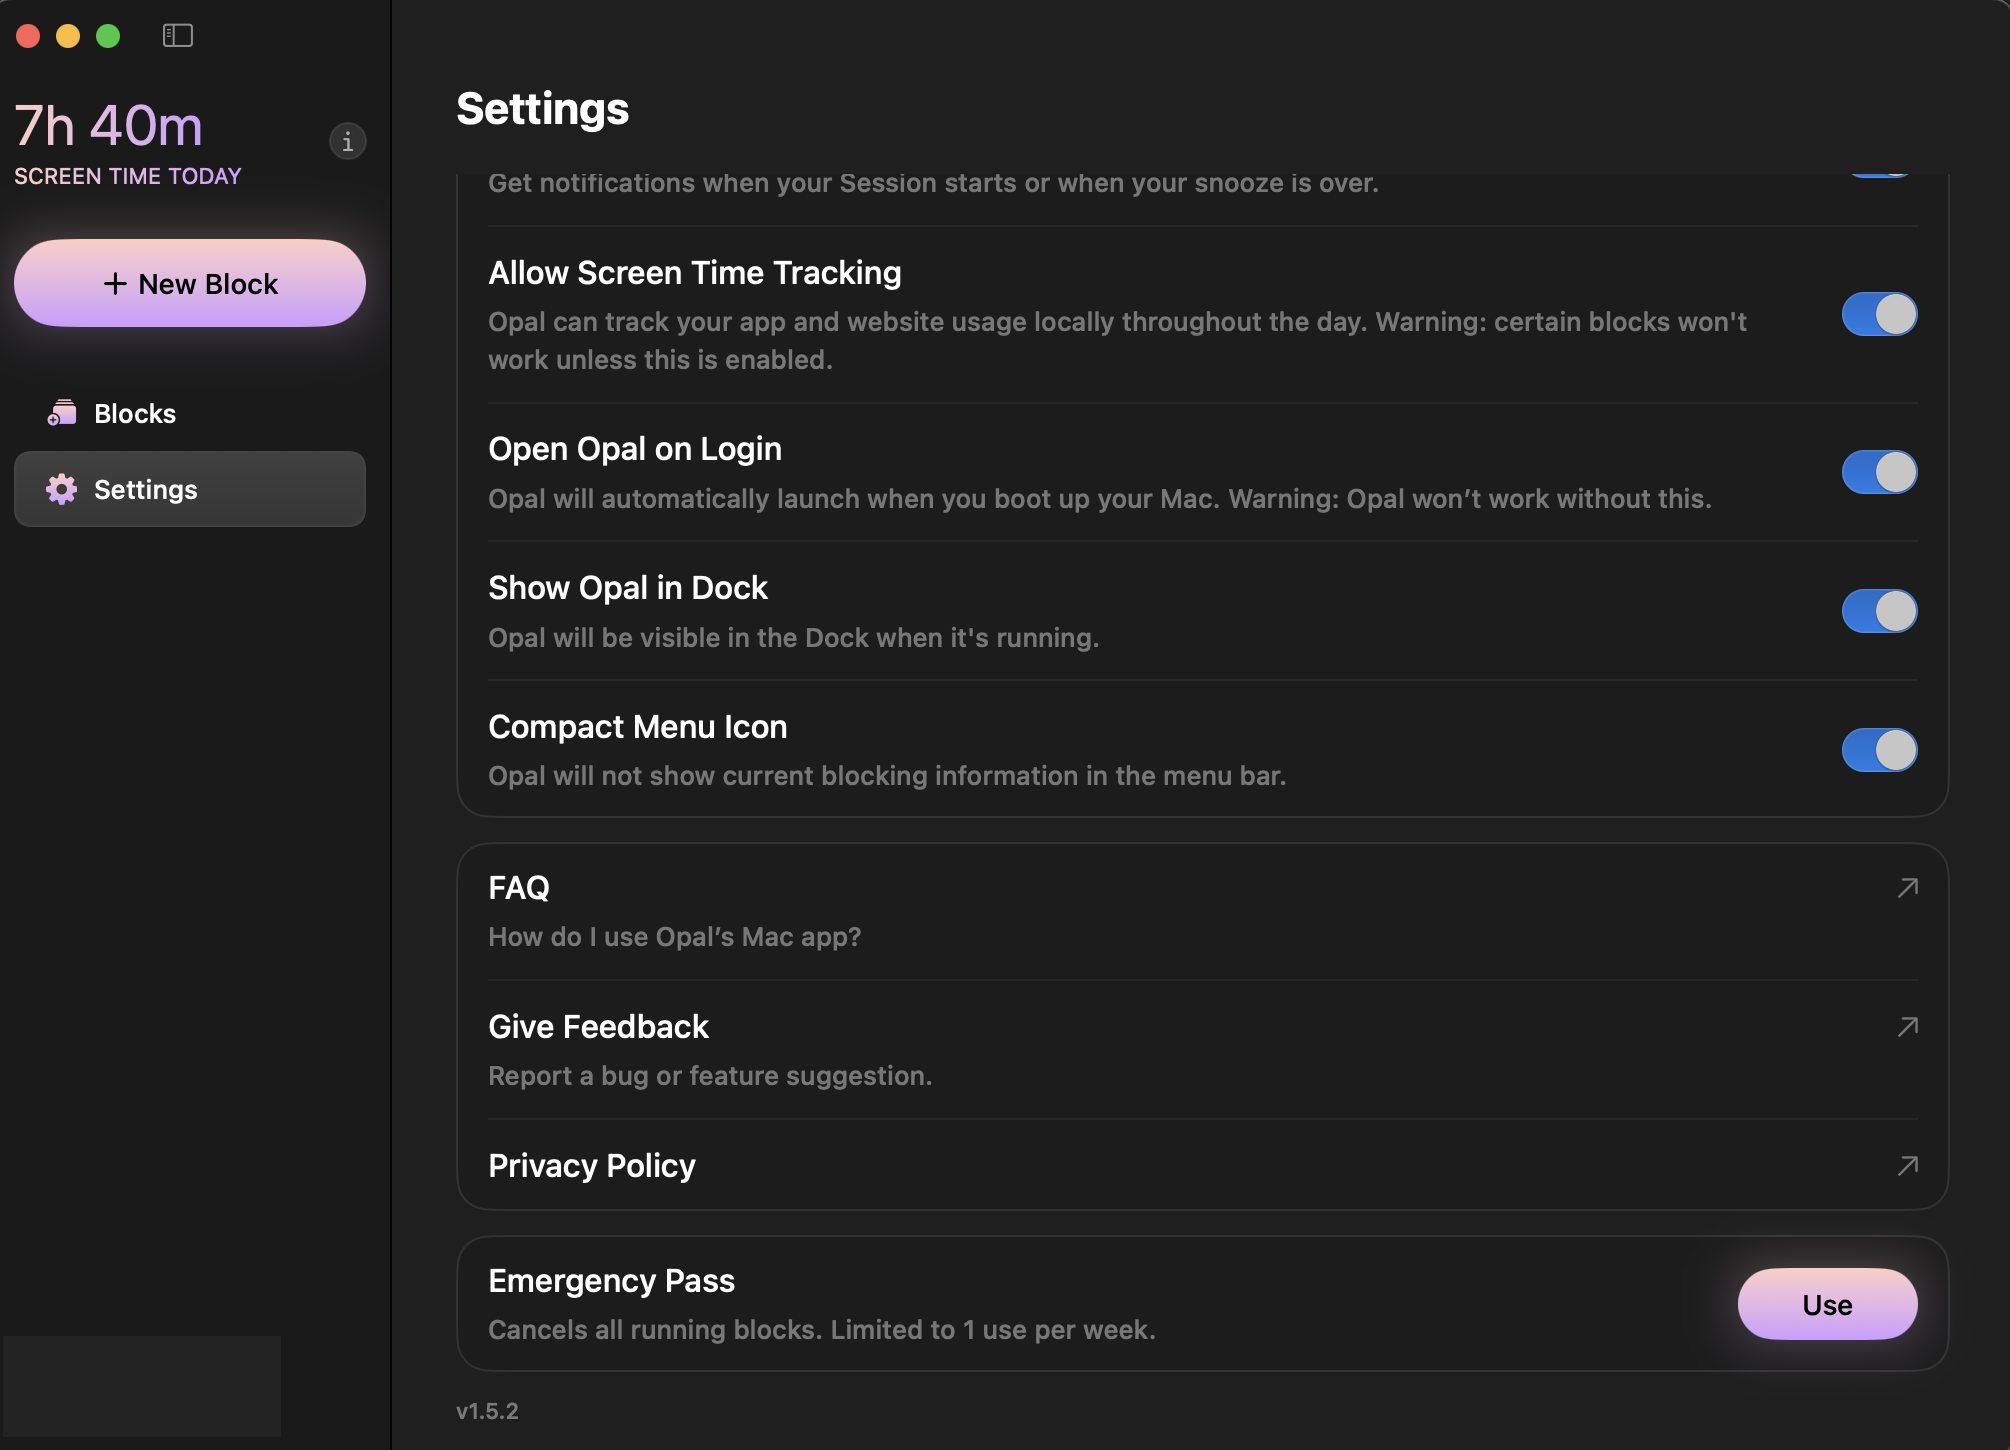
If you require emergency access to an app or website that is blocked on the Mac app, Opal has an Emergency Pass that you may use only once per week. Here's how to disable a "Deep Focus" Session in the event of an emergency:
This button will immediately end all active Sessions, Time Limits, and Open Limits on the Mac app. However, it's important to note that the "Emergency Pass" feature should be done sparingly and only in cases where it is necessary, as it is only available once per week. Once your Sessions, Time Limits, and Open Limits have been canceled, navigate back to the Session and edit it. Please be advised that if you've already used your Emergency Pass this week, our Support team is unable to force end a Session, Time Limit, or Open Limit for you. For that reason, we recommend only using your Emergency Pass in a true emergency. Otherwise, if you simply want to edit any Session type on the Mac App that is set to "No way, I'm hardcore" difficulty, we'd instead recommend waiting until that Session ends to edit it.
Currently, our Mac app supports Chrome, Safari, Arc, Opera, Edge, and Brave. If you would like us to support other browsers (or have any other suggestions for improvement), please let us know via the Community forums here.
If you've disabled the Mac app's permission to control your browser, or neglected to grant it permission, please take the following steps to sort that out:
If you see any error codes or broken functionality within the Mac app, take the following troubleshooting steps:
If that doesn't do the trick, please tap on your "Settings" and select "Give Feedback." When you contact our Support team, be sure to include details about where things are going wrong.
If you subscribed to Opal through the Mac app, you can access your subscription information by entering your information in the Mac app Stripe dashboard. If you need a refund for your purchase made via Stripe, please contact us via support@opal.so. If you need a refund for a purchase made via Apple, you must contact Apple for a refund using the instructions here.
If you’ve updated the Mac app and the problems persist, please contact Support within the Mac app by clicking on the "Settings" icon in the left menu. From there, click on the "Give Feedback" button. If you contact Support, please include any screenshots or videos of any error codes or incorrect functionality you are experiencing. Finally, If you have suggestions for improvements, please post them via our Community board here.
